
This is the press I use to print small intaglio plates.
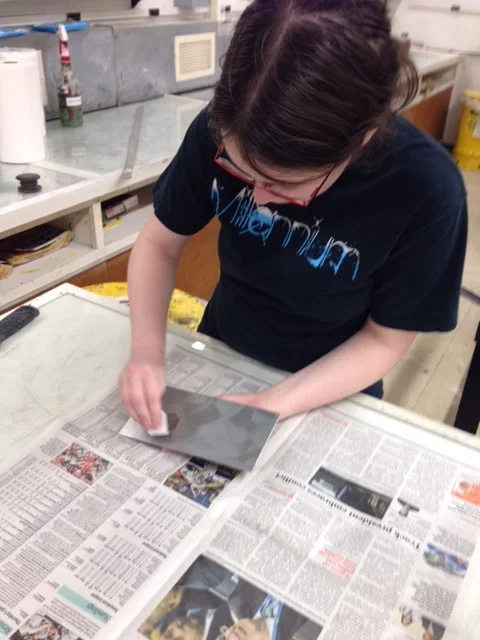
This is the third plate in Movements of Forgetfulness. The plate I use is made of zinc but originally plates were made of copper. Here I've started to put ink on the plate.
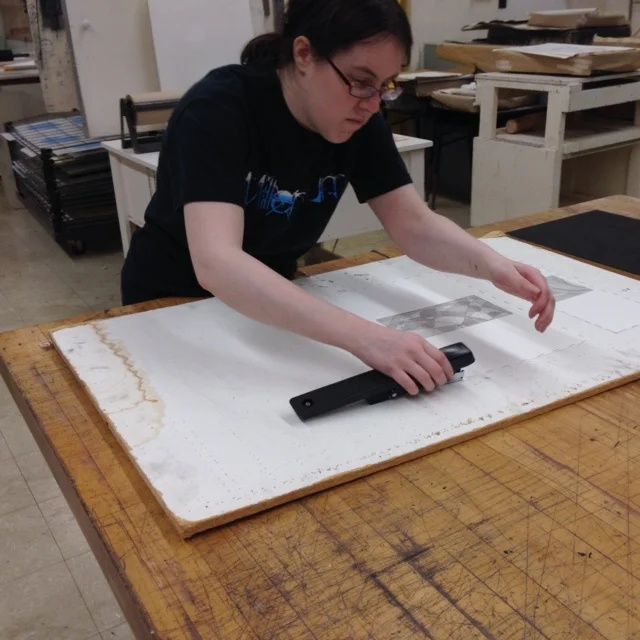
I continue to add ink to the plate with small squares of matte; pulling the ink into the lines on the plate.
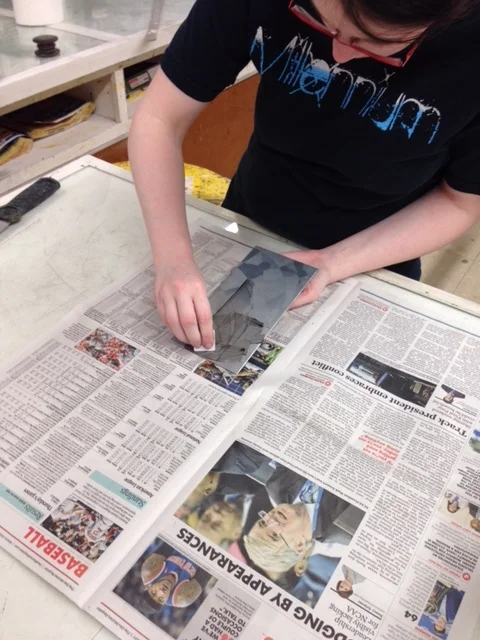
Once the entire plate has been covered in ink, I can begin to wipe off the excess ink which is causing the streaked black lines across the plate.

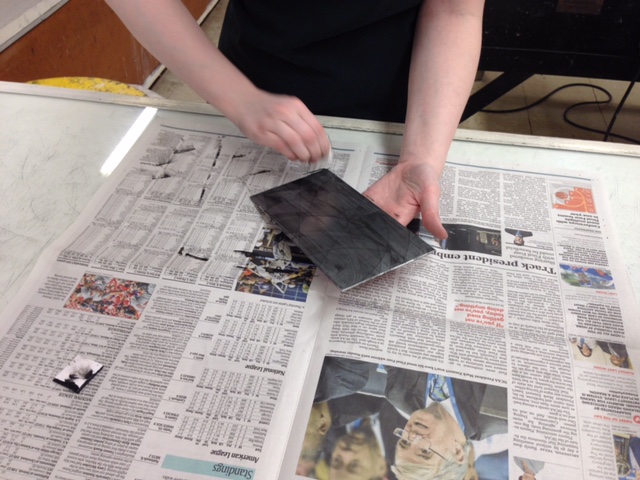
Now I take phonebook paper to wipe off the excess ink using light pressure with my palm. I make sure to clean the edges of the plate to ensure no extra ink ends up on the final print.

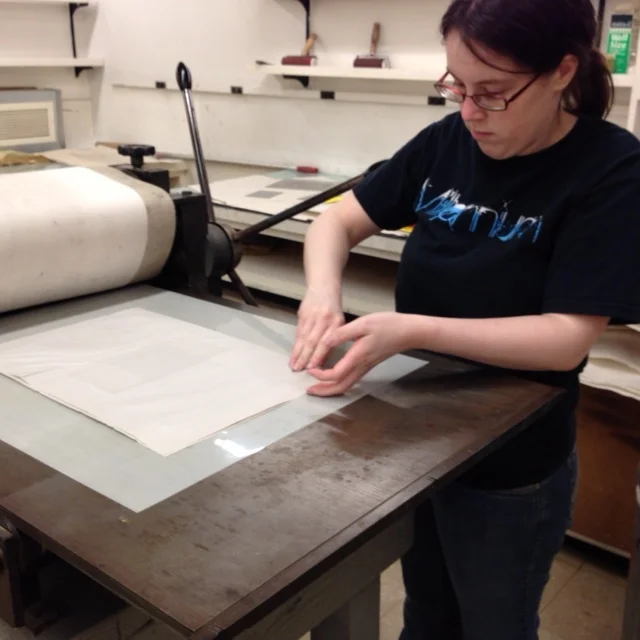
Here I've already laid the plate on the press, covering it with a damp piece of heavy paper to print. On top of that there are a few layers of newsprint to absorb the excess moisture from the damp paper. After laying down the felt cushions, I crank the levers to move the print through the press.
And the fun part: seeing how well the print turned out!

The print came out successfully! I use a reference piece of paper under the plastic to help line up the plate and paper so the print comes out the same every time.
The second to last step is to staple the print to a flat surface to allow the print to dry completely flat. After the print is dry (I typically wait a day), I pull the print from the board and remove the staples. The last step is to trim the print down to the correct size.